Automate Hardware Engineering Workflows Using AI
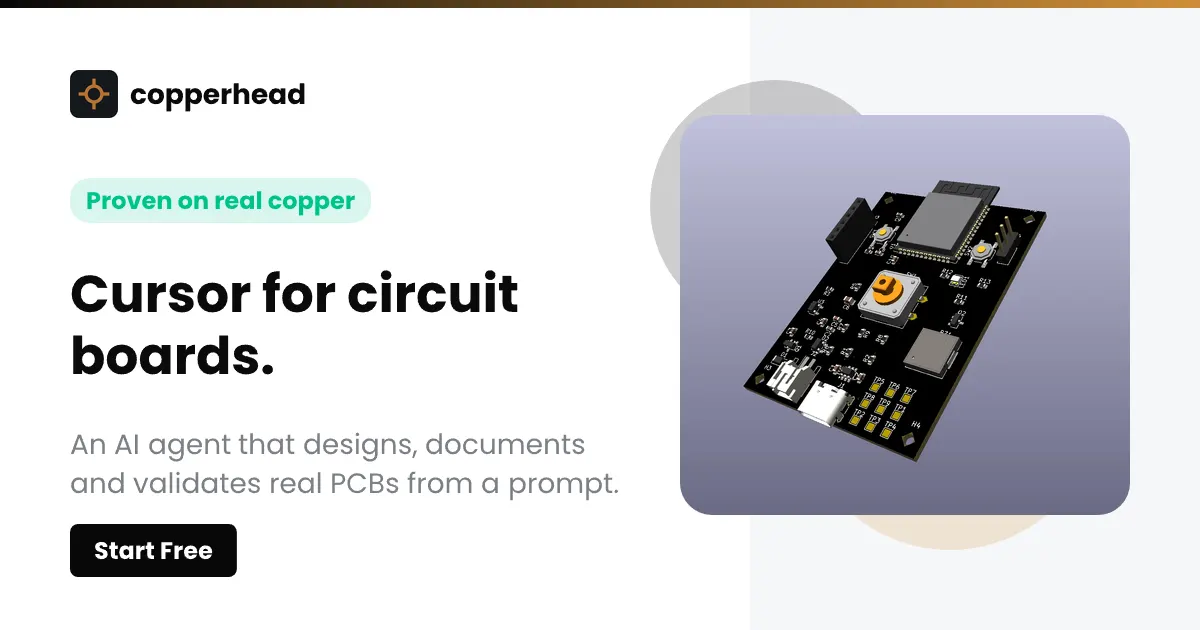
To automate hardware engineering using Copperhead, you initialize a local agentic workflow that moves from a markdown brief to a complete KiCad design package through eight sequential, gated stages. Unlike standard LLM prompting, this method uses a CLI-driven agent that validates every output—such as BOM accuracy or DRC cleanliness—against a physical gate before committing any files to your git repository.
Who is this for and what does it cost?
This workflow is for solo hardware engineers or small prototyping teams who need to accelerate the "blank page" phase of PCB design without losing control to hallucinated components. It is not for high-volume consumer electronics manufacturing where every micron of trace width is legally mandated, as the AI still requires human verification of the final gerbers.
Estimated Case Costs (USD):
- Infrastructure: $0 (Local CLI) + API costs. For a mid-sized project, expect $20–$100 in Claude 3.5 Sonnet or GPT-4o API tokens depending on the number of agent iterations.
- Software: The CLI is Apache-2.0 and free. If you move to the Cloud tier for team collaboration or private hosting, budget $49 per user/month.
- Time Investment: Initial setup of the environment and brief writing takes 2–4 hours. The actual agent runs can take 30 minutes to several hours depending on complexity.
How do you set up the agentic hardware pipeline?
You do not "chat" with the hardware; you orchestrate it. The process relies on a strict state machine where each stage must pass a validation check before the next begins.
npm i -g copperhead
Step 2: Writing the Brief
Create a brief.md file. This is the most critical step. You must define voltage rails, connector types, dimensions, and specific component constraints. If your brief is vague, the agent will fail at the "Spec" gate. Do not use conversational filler; use technical requirements.
Step 3: Running the Agentic Loop
Use the do command to trigger the sequence. The agent will attempt to progress through these stages:
- Spec: Generates
docs/SPEC.md. The gate checks for a completed budget section. - Architecture: Generates
docs/SUBSYSTEMS.md. The gate verifies reasoning for each subsystem. - Parts: Generates
docs/BOM.md. The gate verifies part numbers against actual datasheets. - Schematic: Generates
design.kicad_sch. The gate runs a KiCad Electrical Rules Check (ERC) to ensure no floating pins or shorted nets. - Layout: Generates
design.kicad_pcb. The gate runs a Design Rules Check (DRC) to ensure footprints match and traces meet clearance. - Outputs: Generates Gerbers, Drill files, and STEP models.
- Firmware: Generates basic pinout headers (
pins.h) and - Dev Plan: Generates
docs/DEVPLAN.mdfor physical bring-up.
Step 4: Verification
Open the resulting KiCad files. The agent's job is to get you to a "clean" state, but you must manually verify that the physical component footprints match your actual supplier availability on platforms like Mouser or DigiKey.
Where did the automation fail?
During a recent implementation of a high-speed digital board, I hit a critical failure at the Parts Gate. The agent successfully selected a microcontroller and matched the datasheet, but it failed to account for the "end-of-life" (EOL) status of a specific decoupling capacitor. Because the agent was looking at the datasheet logic rather than real-time stock availability, it produced a BOM that was technically correct but physically unprocurable.
How does this differ from standard LLM workflows?
Most people try to use ChatGPT or Claude to "write a KiCad script" or "design a circuit." This is a fundamentally flawed approach for professional engineering. Here is how the Copperhead method differs:
- Feedback Loops: Standard LLMs are "fire and forget." You ask, they answer. Copperhead uses Gated Commits. If the agent generates a schematic that fails the KiCad ERC, it stops and rolls back rather than proceeding to a broken layout.
- State Management: Standard LLMs have no concept of a "file system." They provide text snippets. Copperhead operates on your actual
.kicad_pcband.kicad_schfiles, treating the hardware design as a living codebase. - Verification vs. Generation: Most AI tools focus on generation (making things). This method focuses on verification (ensuring things work). The "Gate" is a specialized agent whose only job is to act as a critic, not a creator.
When should you NOT use this method?
Do not use agentic automation for the following scenarios:
- Ultra-High Density Interconnects (HDI): If you are working with 0.4mm pitch BGAs or complex blind/buried
- Class 3 Medical or Aerospace Hardware: The "black box" nature of agentic reasoning makes it difficult to provide the rigorous traceability required for formal certification.
- Legacy Hardware Migrations: If you are trying to "AI-ify" an existing, messy KiCad project, the agent will likely get lost in the technical debt. This method is designed for greenfield (new) projects.
To further scale your operations, you might also find value in these real-world AI monetization case studies for inspiration.